There is one huge story in raincoat computer code straight away, and that’s OS X ten.8, puma. out there for fewer then twenty greenbacks via the raincoat App Store, the update to puma is all intermeshed around building on prime of your current, operating system. If you’re like US tho', you most likely prefer to have a pleasant clean install of your software package each once in an exceedingly whereas, however the raincoat App Store doesn’t continuously build that the simplest issue within the world.
Thankfully, assumptive you’ve got a USB stick giant enough to suit Mountain Lion’s installation file on – that’s any 8GB stick or on top of – then you’re in luck, as a result of obtaining a clean install of puma on your raincoat is less complicated than you will suppose.
In fact, obtaining puma onto a clean raincoat magnetic disc is really easy it may be drained eleven, easy steps, and one among those is barely a step at all!
So, let’s get started:
Step 1: transfer OS X puma via the raincoat App Store as was common, however don't begin the installation method.
Step 2: Follow our handy dandy guide and build a puma installation USB stick. You’ll be desperate to follow this step as a result of you’ll be wiping your magnetic disc before long.
Step 3: duplicate everything, or a minimum of something that you just don’t wish to lose. build a machine backup if you've got a container, or {simply} simply copy your necessary documents, photos, video etc. to associate degree drive. once you’re done at the top of this method everything are gone, therefore don’t run the danger of wish you’d insured later!
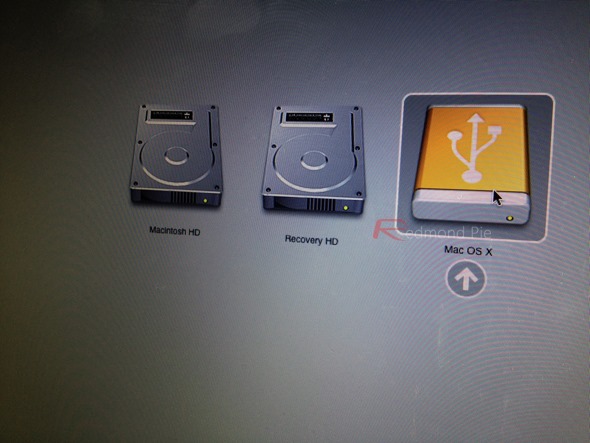
Step 4: Restart you raincoat along with your puma USB blocked – that you created in step a pair of – in and press/hold the choice key throughout the boot screen and choose the puma USB drive as shown within the screenshot below.
Step 5: fan the flames of Disk Utility, that lives underneath the OS X Utilities menu item.
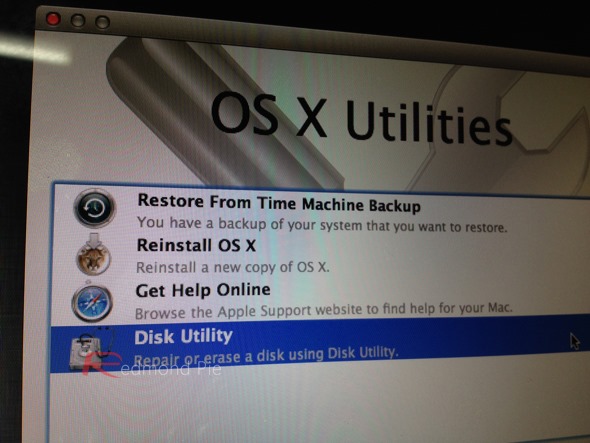
Step 6: choose your Mac’s internal magnetic disc from the pane on the left. this is often sometimes referred to as ‘Macintosh HD’.
Step 7: On the correct, choose the Erase tab, followed by choosing "Mac OS Extended (Journaled)” as Format for the drive. Click the “Erase…” button to format the drive.
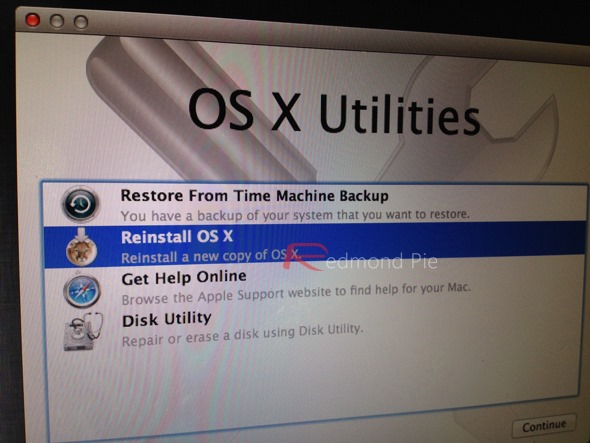
Step 8: shut Disk Utility and and from the OS X Utilities menu choose ‘Reinstall OS X’ as shown within the screenshot below.
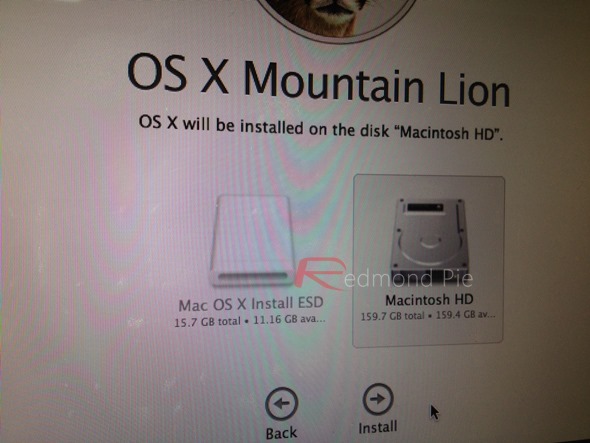
Step 9: choose the hard drive simply} just erased because the destination for your new puma installation and click on on Install. Follow on-screen directions.
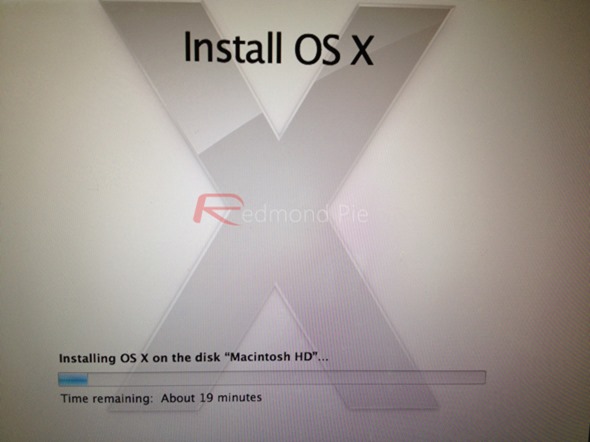
Step 10: Follow the on-screen directions to line iCloud up and build the other accounts that will be needed.
0 comments:
Post a Comment